
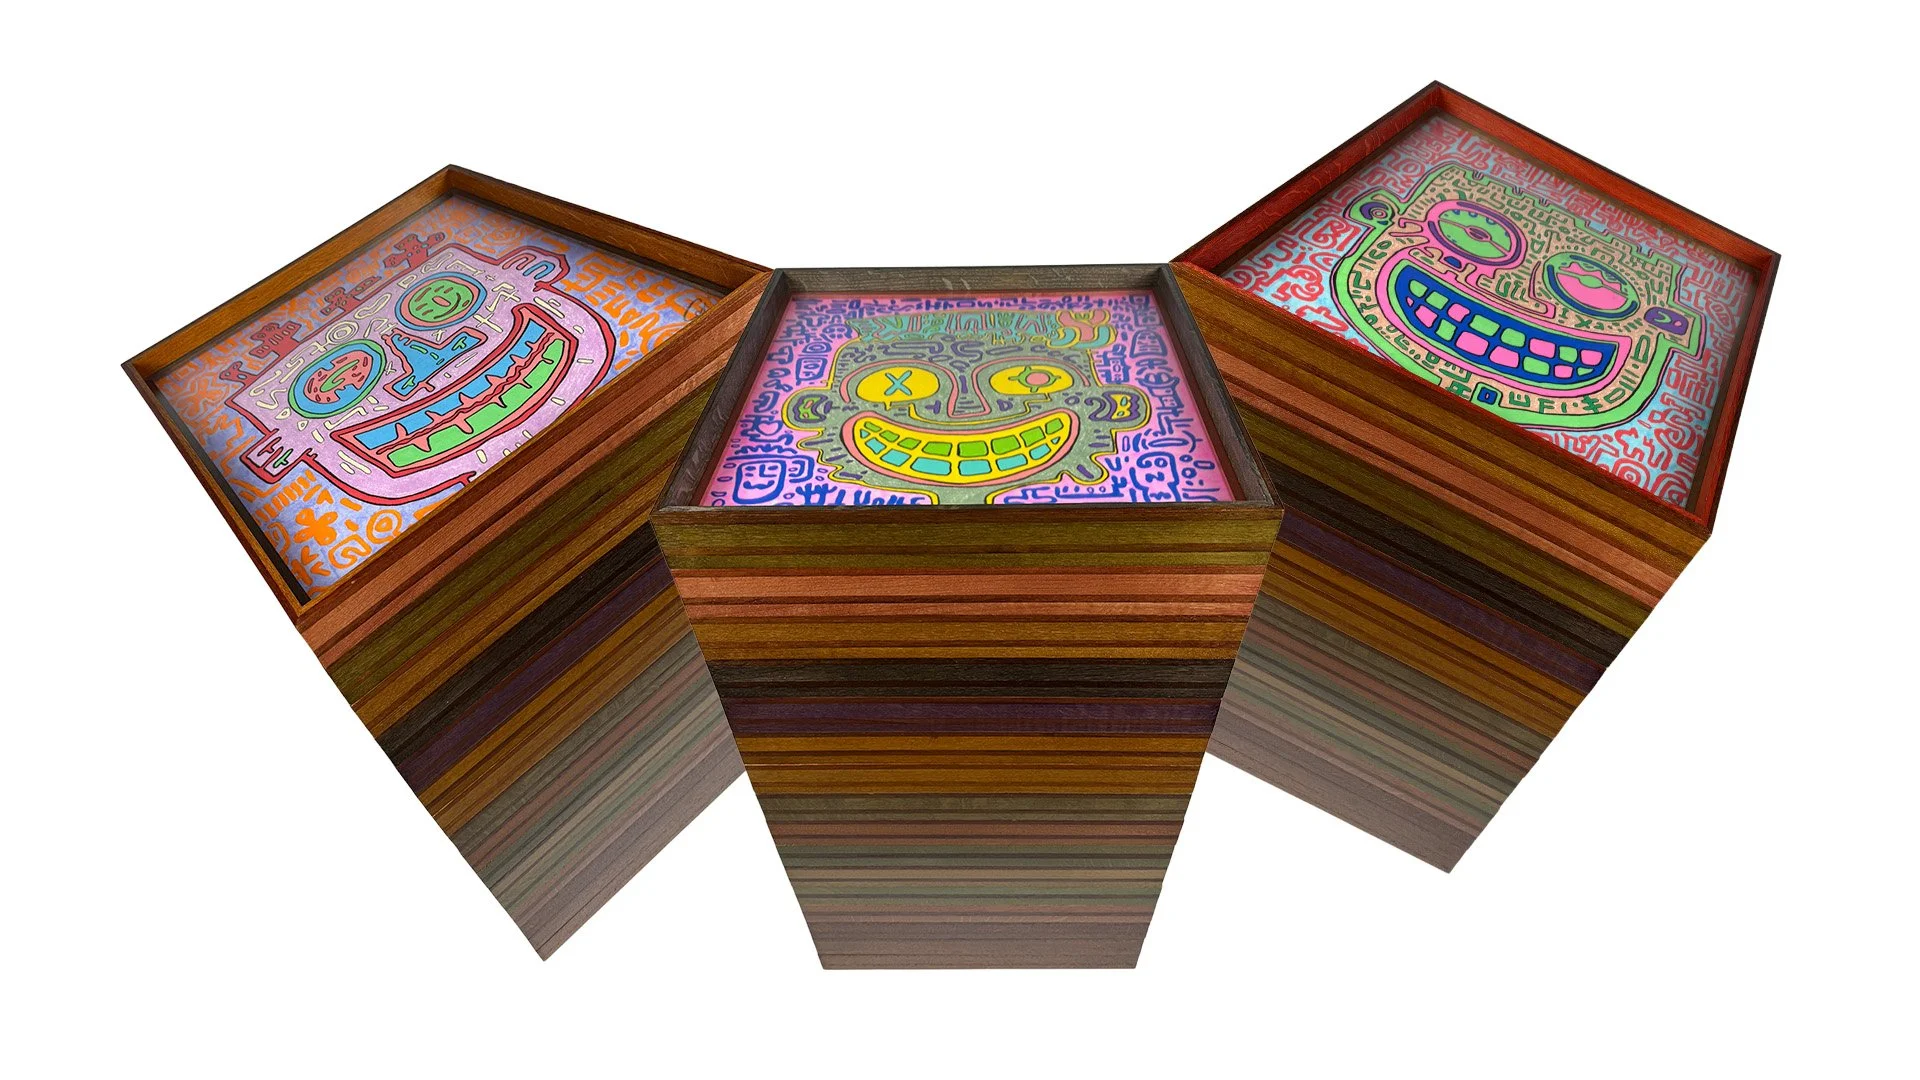
Handcrafted Frames
Colored woods
A Signature Framework
Framing the Story, Holding the Meaning
What began as a simple need for a frame quickly grew into something much deeper. Once the work with wood started, the joy and momentum followed, and ideas for some custom frames began to take shape.
Wood carries its own history: growth rings, unexpected grain patterns, and small imperfections that reveal a life lived. It became clear that the frame shouldn’t be separate from the artwork, but part of the story.
Learning to build these frames evolved into a long, insightful process of searching, experimenting, making mistakes, repairing, and trying again. Sawing, gluing, sanding, cleaning, staining, oiling, varnishing, until a prototype finally matched the original vision. Today, using color within the frames to strengthen the artwork and bringing the narrative forward through the grain has become an essential and rewarding part of the practice.

HOW IT’S MADE
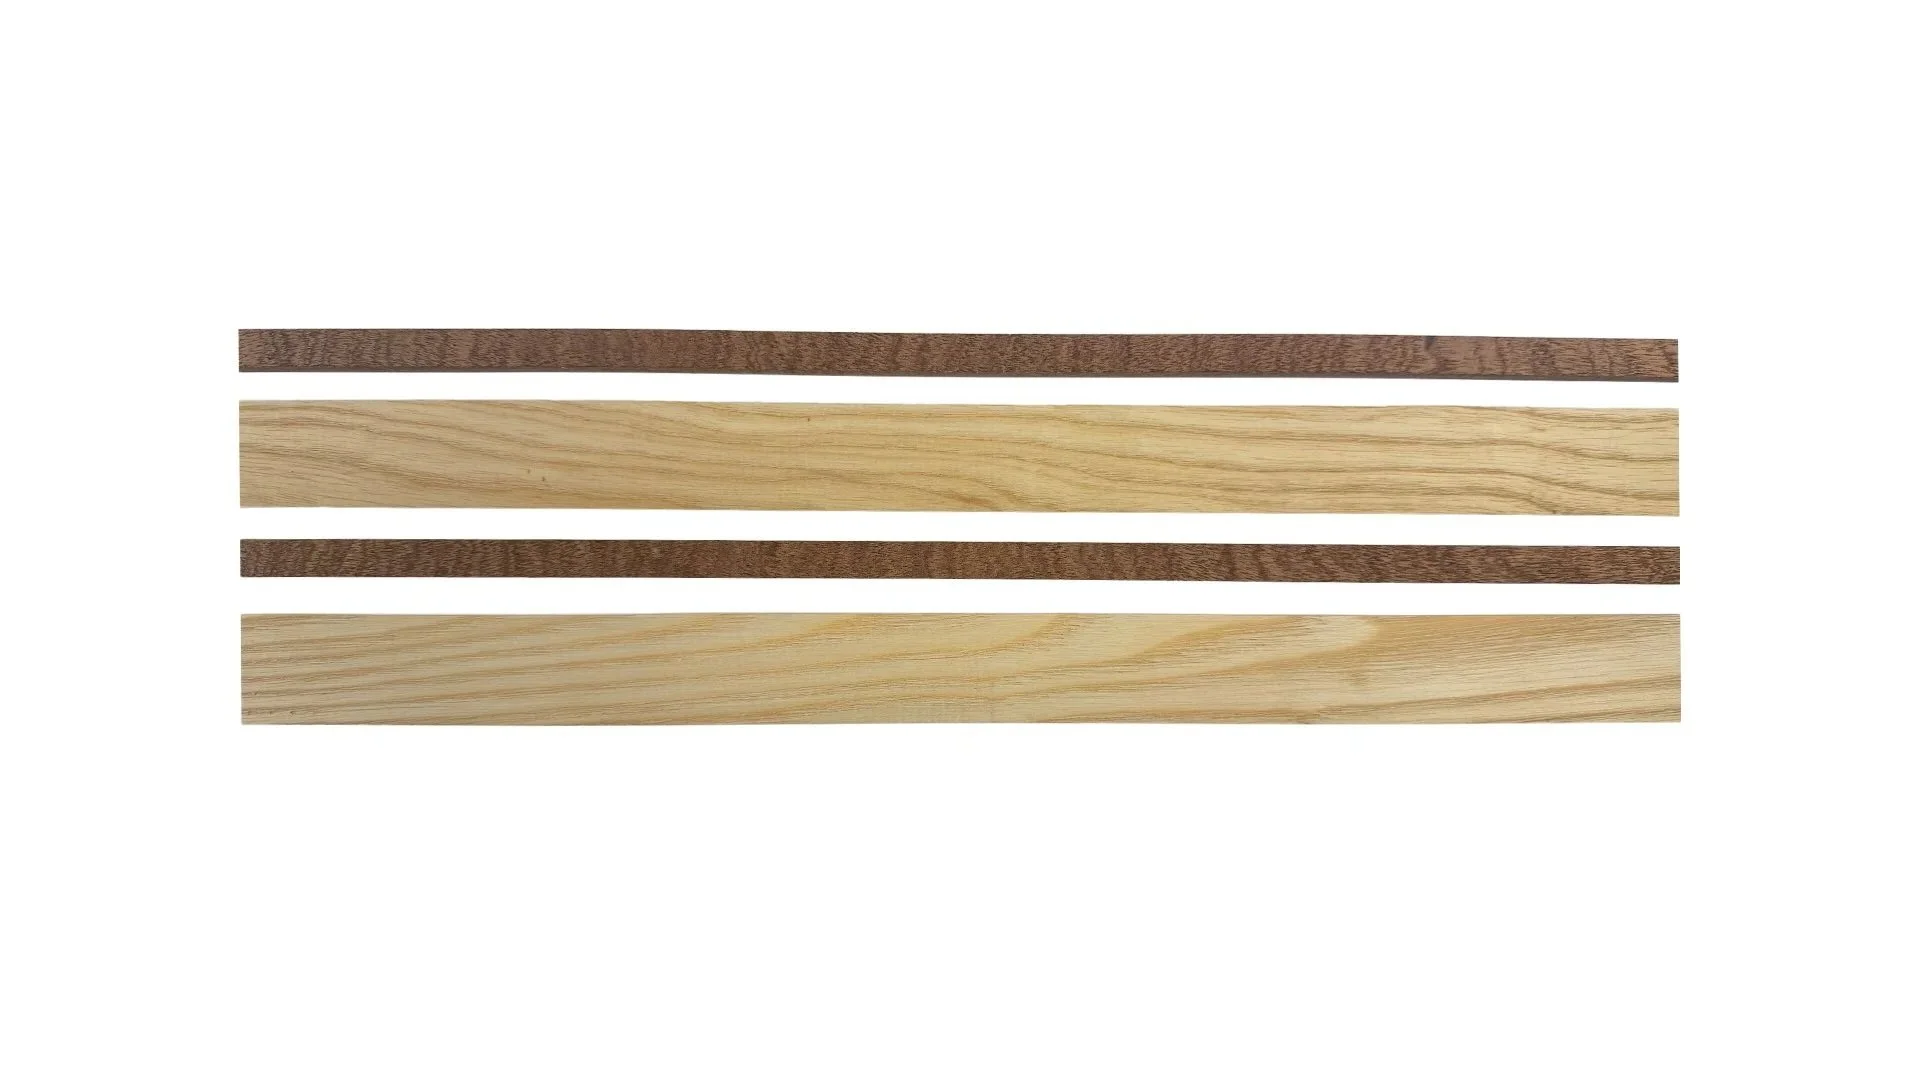
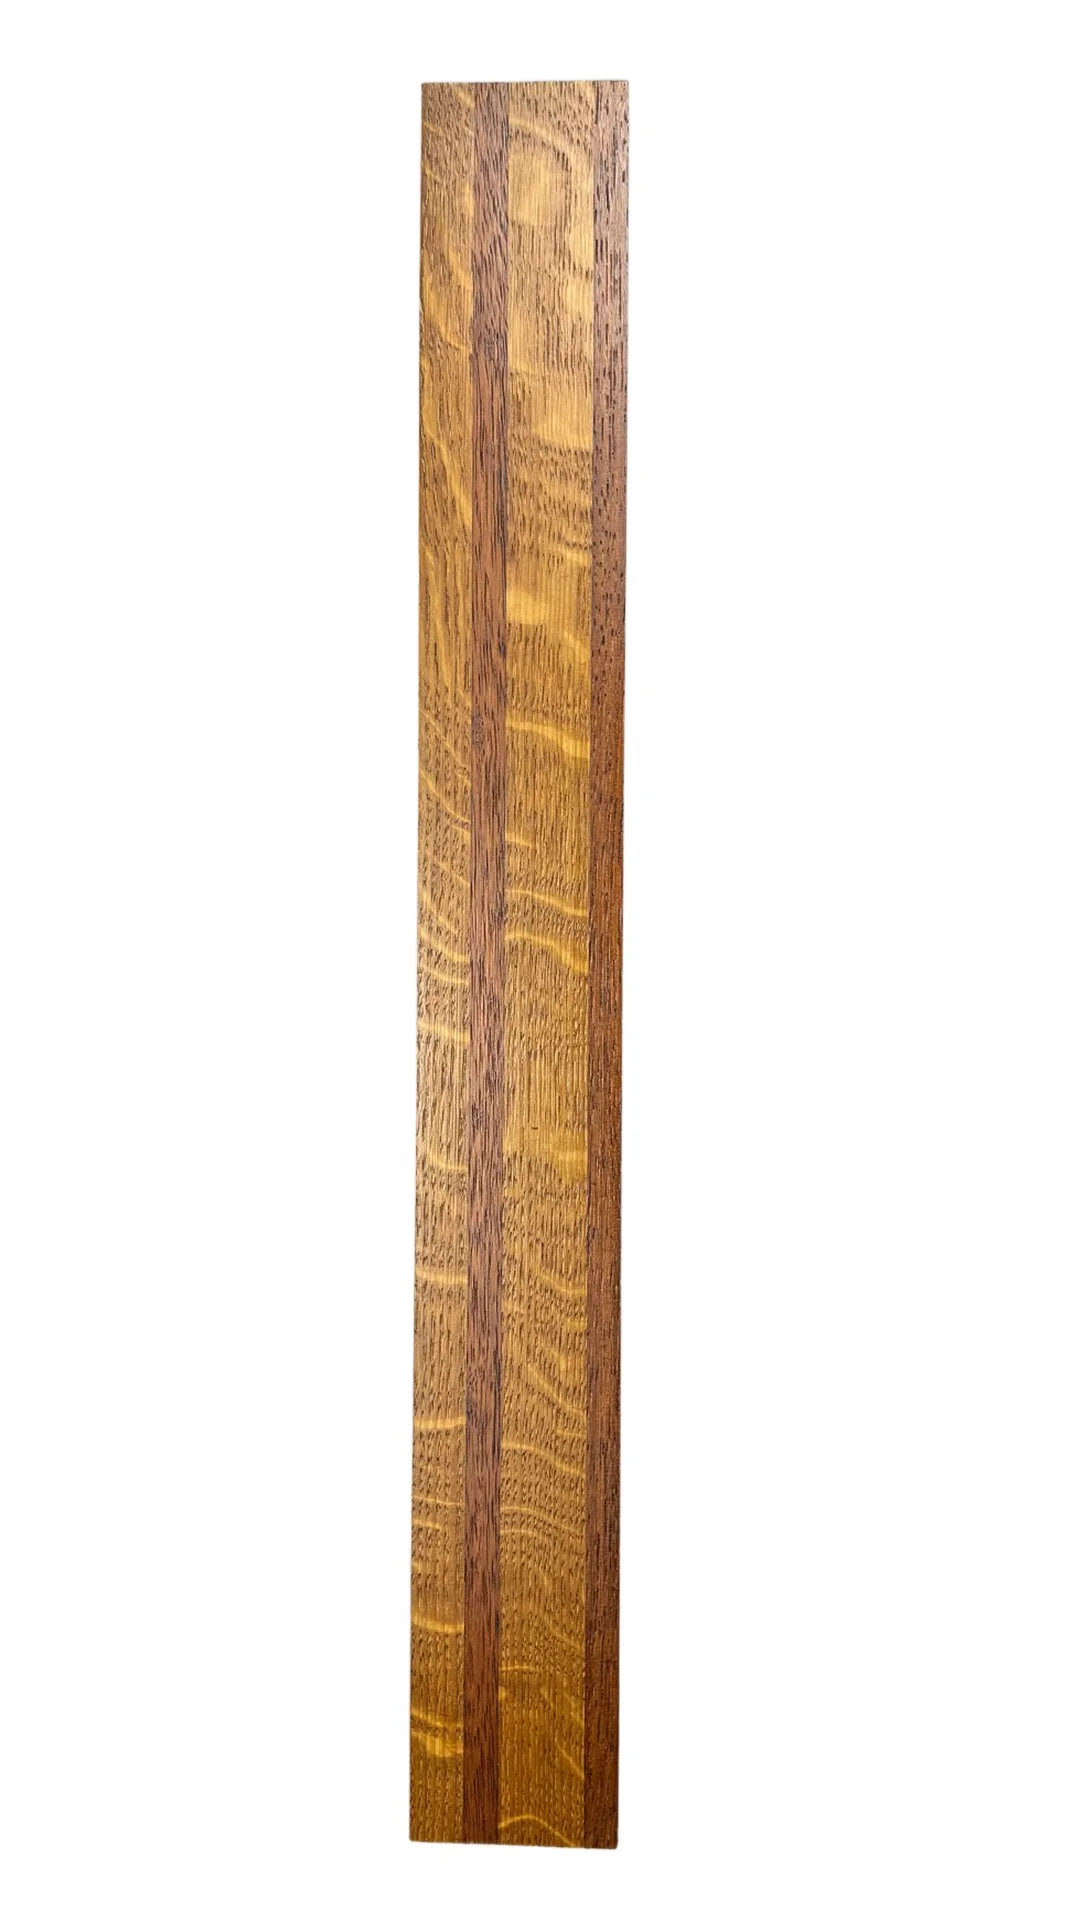
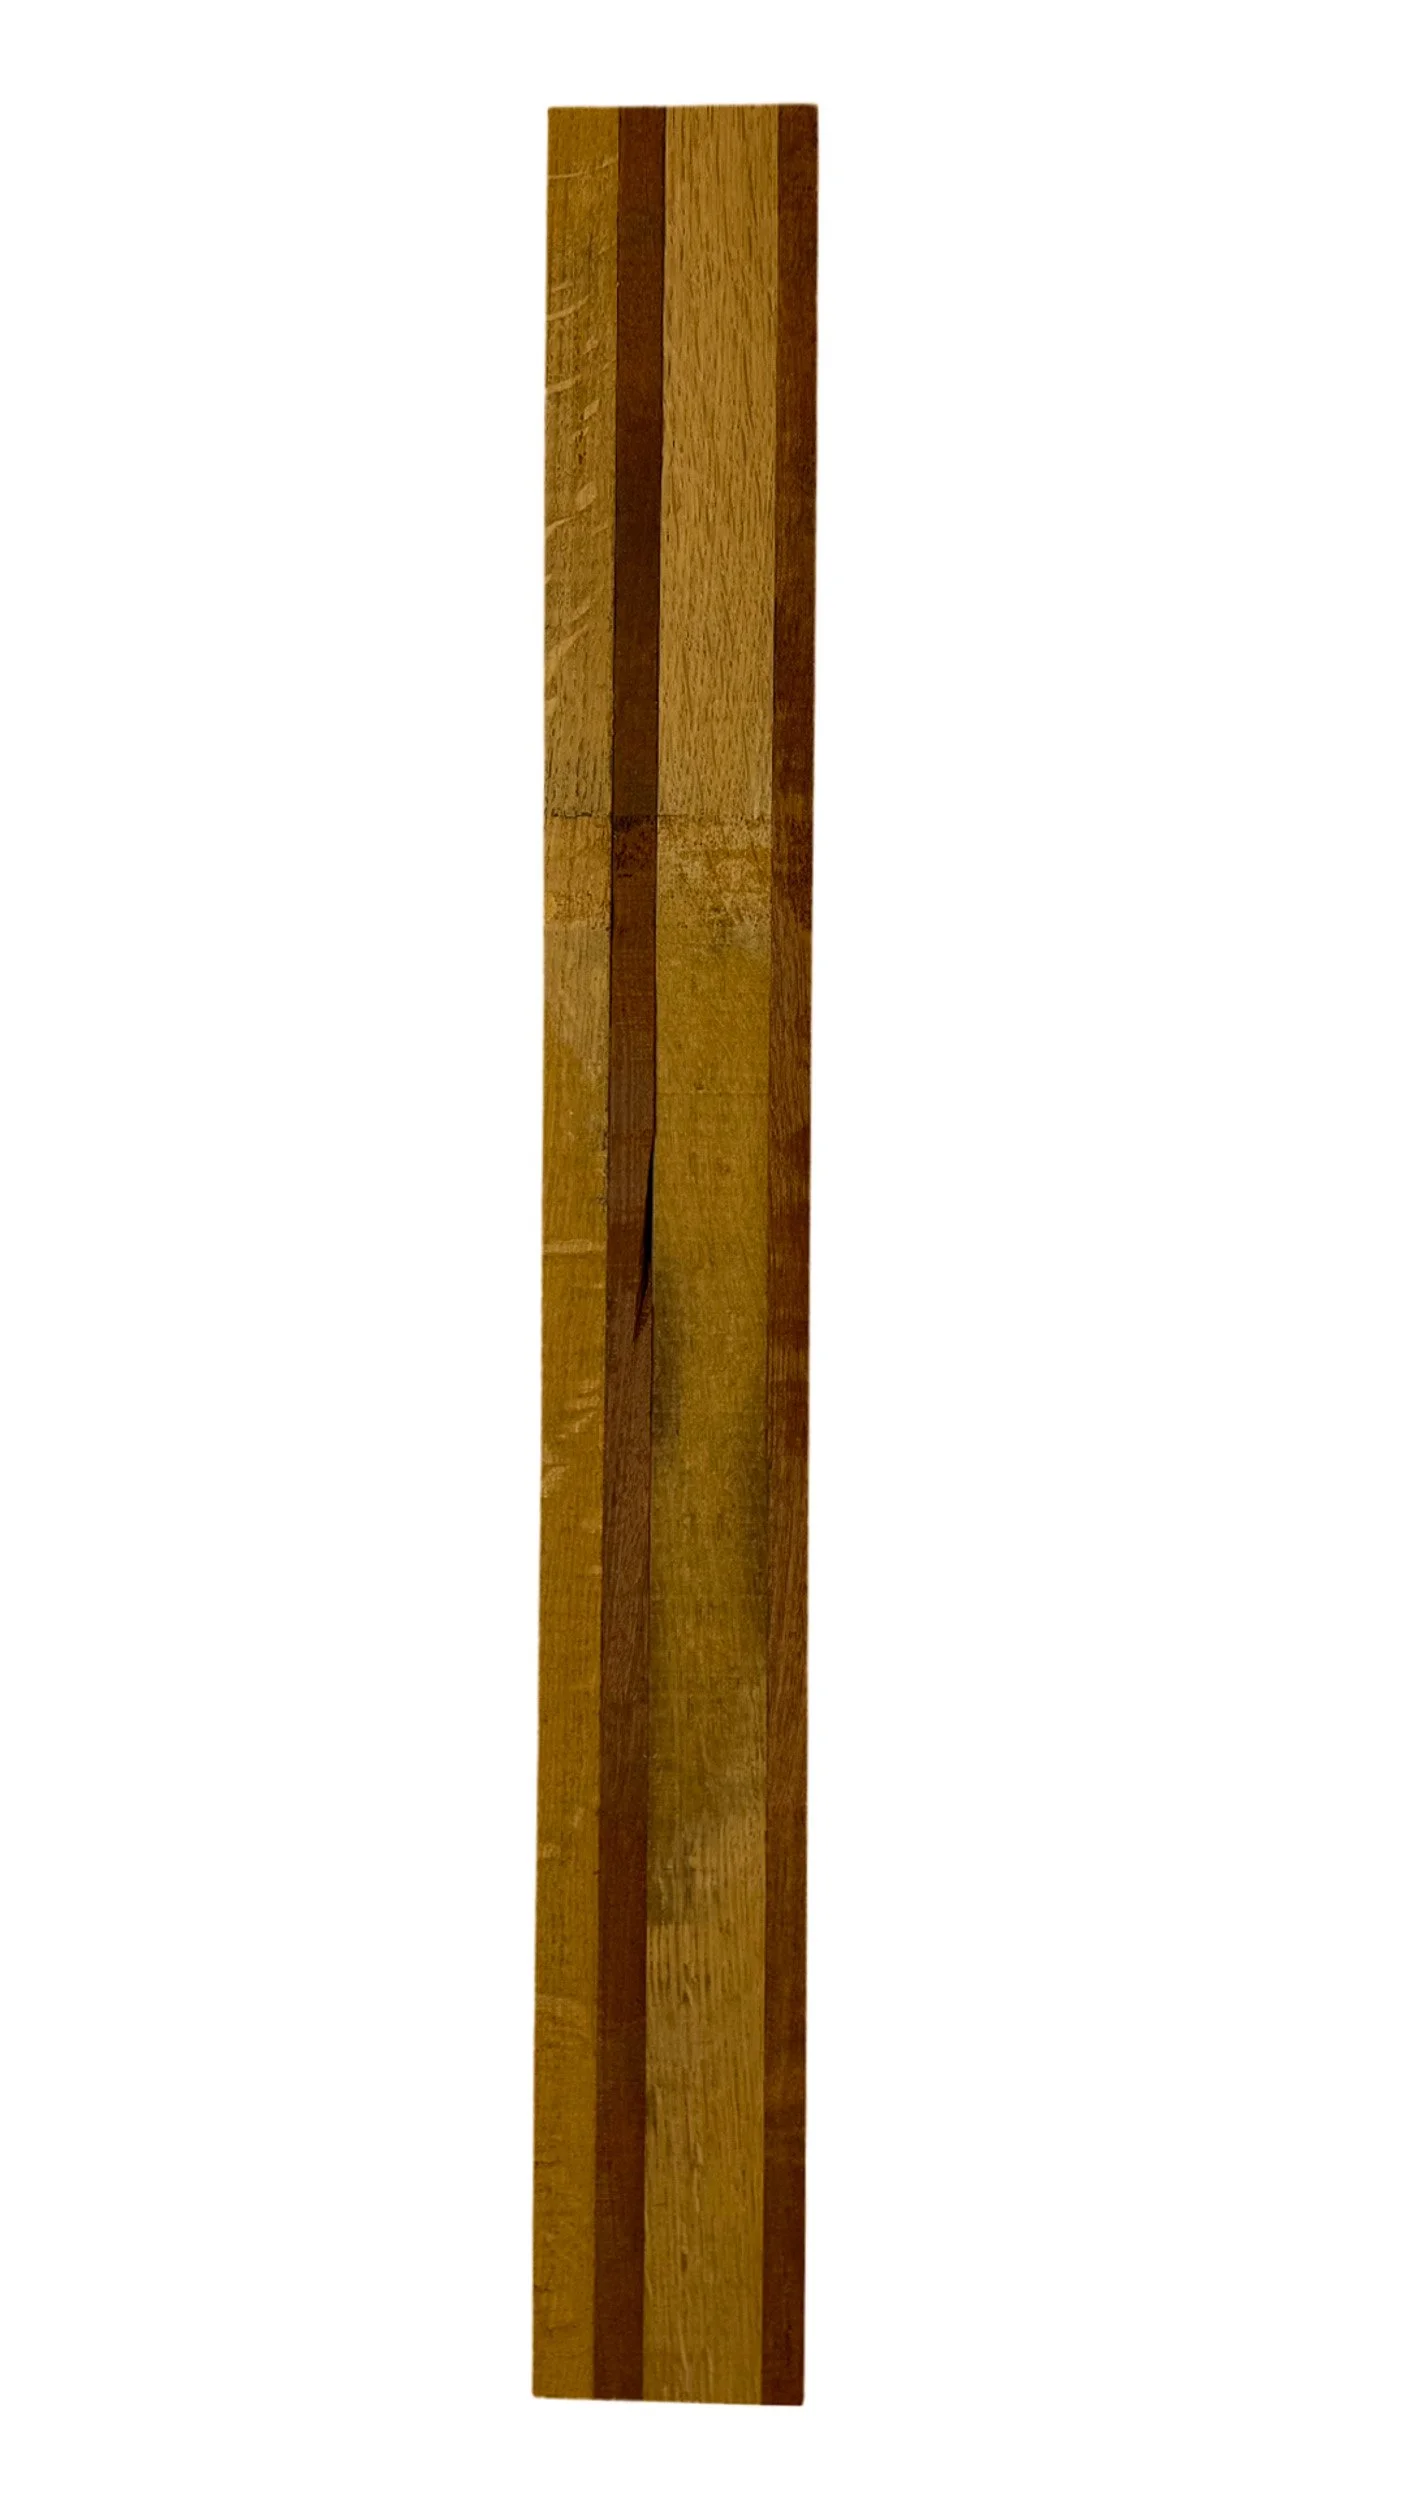
It begins with wood selection. For each piece, wood is chosen for grain,color tone, and stability. Common choices include oak, mahogany, wenge, walnut, and beech, selected to complement the artwork.
Sawing follows to achieve clean cuts, then sanding to remove saw marks and refine edges. A wood cleaner is used to remove dust and oils so glue and finishes adhere optimally.
The first gluing stage brings the segments together. After curing, sanding and cleaning ensure a flush fit. Staining sets tone and depth, followed by another round of sanding and cleaning to tame raised fibers and keep the surface pristine.
During oil application, the wood is nourished and gains a gentle glow. Depending on the desired character, Danish oil, pure tung oil, or boiled linseed oil is used. The wood is given proper drying time, after which sanding and cleaning return the surface to a silky feel.
A sanding sealer fills the pores and creates an even base. Another sanding and cleaning cycle produces a smooth, dust-free substrate. In the next gluing stages, profiles are fixed to final dimensions and squareness. Clamping pressure, alignment, and precise miter control determine the crispness of every line.
For the finish, a 2K lacquer coat in high gloss is applied for clarity, depth, and protection, followed by a 2K lacquer coat in satin gloss to moderate sheen and let light fall evenly across the surface. The back panel receives yacht lacquer for hardness and moisture resistance.
Final assembly is done next.
ASSEMBLAGE
For assembly, the process begins with the protective glazing. The clear, opal, or anti-reflective Gallery® (UV-protected) layer is unwrapped and cleaned, then polished with an anti-static wax coating to reduce dust attraction and keep the finish clean and bright.
Next, wooden spacers or a Canson passe-partout are prepared. Where needed, the wood is sanded and refined until the fit feels right, with subtle handmade variations that give each frame its own character.
The artwork is mounted to an acid-free, archival backing using Standardgraph double-sided tape, then placed onto the spacers inside the frame. When a passe-partout is used, the artwork is mounted with acid-free passe-partout tape and receives the same acid-free, archival protection before being positioned.
A double-sided lacquered meranti back panel, finished with yacht lacquer, is installed to seal and protect the rear. Oak battens are added to secure and seal the back.
Finally, the hanging system is built. Side-mounted screw hangers are fixed, corner profiles are fitted in all four corners, and a steel wire is cut to size. A loop gripper or clamp is attached and locked with thread-locking compound, then end caps are placed on the cable ends for a safe, durable finish.
NEXT FRAMEWORKS
In this next frame concept, a wider front was chosen, finished with a surrounding border in wenge, mahogany, or walnut. The structure is built on a base of oak and beech.
The back panel is MDF, using the same mounting method as the previous frames, and is finished with signatures: an iris scan, signature, and the Borderlines Labyrinth – Variété.ist sticker. The back is sealed with personalized tape.
As a tribute to vintage ornamental frames, often closed with tape on the reverse, this tradition returns in a modern form. These frameworks house the first releases of the giclée editions and screen prints.